Mod-Mood Quilt 7 ~ Get Your Bias On
Step 7: Get Your Bias On
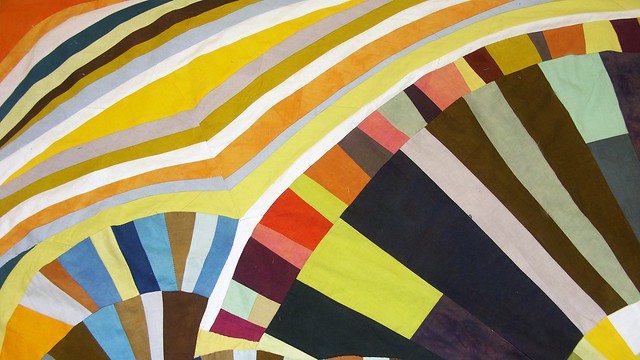
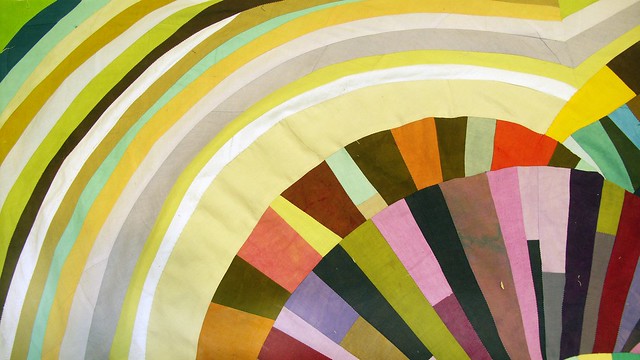
Now that you have pieced your curvy moody sections together, what to do with the corners? At this point you can choose a single piece of fabric to fill in the corners and square off the quilt, using the same curve piecing technique illustrated in step 6. You can see an example of this approach here. Or you can fill out your corners with different colored bias strips as seen above.
Piecing With Bias Strips
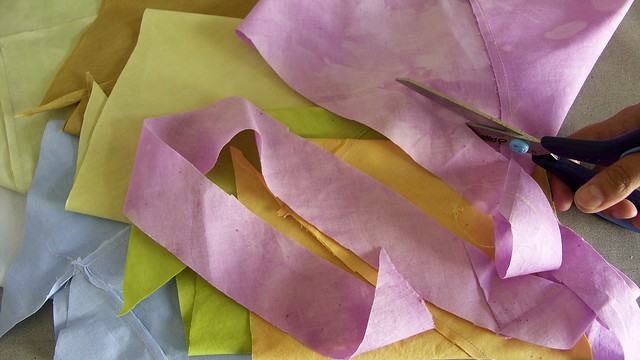
A. Make continuous bias strips out of the many colors you choose for your border. You can make your bias strips in much the same way you make continuous bias binding. Follow the tutorial here with one time saving change: there is no need to pre-mark cutting lines with your ruler.
When making your bias tube go ahead and offset your second seam an inch or so and then begin to freely cut your strips. It's easy to eyeball a perfect parallel width strip if that's what you want, or you can gradually vary the width of your bias strip any where from 3/4" to 3". Of course there is no need to fold and iron your strips in half since they will not be used as binding.
B. Sew your bias strips around the curve one at a time and iron open. Stretch the space between warp and weft on the inner strip and contract the space on the outer strip that you are attaching. It take a while to get used to the amount of stretch needed. As you iron stretch the outer edge of the recently sewn bias strip before attaching the next one. This will help it lie flat.
C. If you end up with a stretched out wave on an inner curve take a dart to pull in the excess, so that your piece lies flat, before you continue with your next strip.
D. If you find that your strips are pulling two tightly on an outer curve, creating an internal bubble. Get your seam ripper out and release the offending seam. Let things fall naturally to a flat state and either add an additional strip or section of fabric if there is a gap, or if there is an overlap, pin the top fabric down and hand-stitch a new seam in place.
E. For inset corners, sew your bias strip all the way to the inset, cut and begin sewing again at the companion inset. Do this every time you add a strip. Once all your strips are added create a mitered edge by folding one edge of the inset under so that it is overlapping it's companion, and then hand stitching it down. It's ok if the inset seams don't line up perfectly.
In Step 8 of the quilt-along I will review approaches to hand-quilting with flare.
Make Your Own Modern Mood Quilt
If you are entertaining the idea of making your own mod-mood quilt, I want to hear from you. What strikes your fancy? What’s holding you back? Join the challenge! Share images of your process on the Mod Mood Quilt Flickr pool. Or grab a Mod-Mood Quilt button here to post on your blog and join my blog roll.
If you are already working on a mood quilt, post an update or any questions you have about the process or techniques and I will respond.


